How to configure a webhook
Location of Webhook settings
As an admin you can configure the settings in Eduframe. Click on your name and on settings to get to the settings overview. You will see an overview of settings you can configure within Eduframe.
Click on Webhooks.
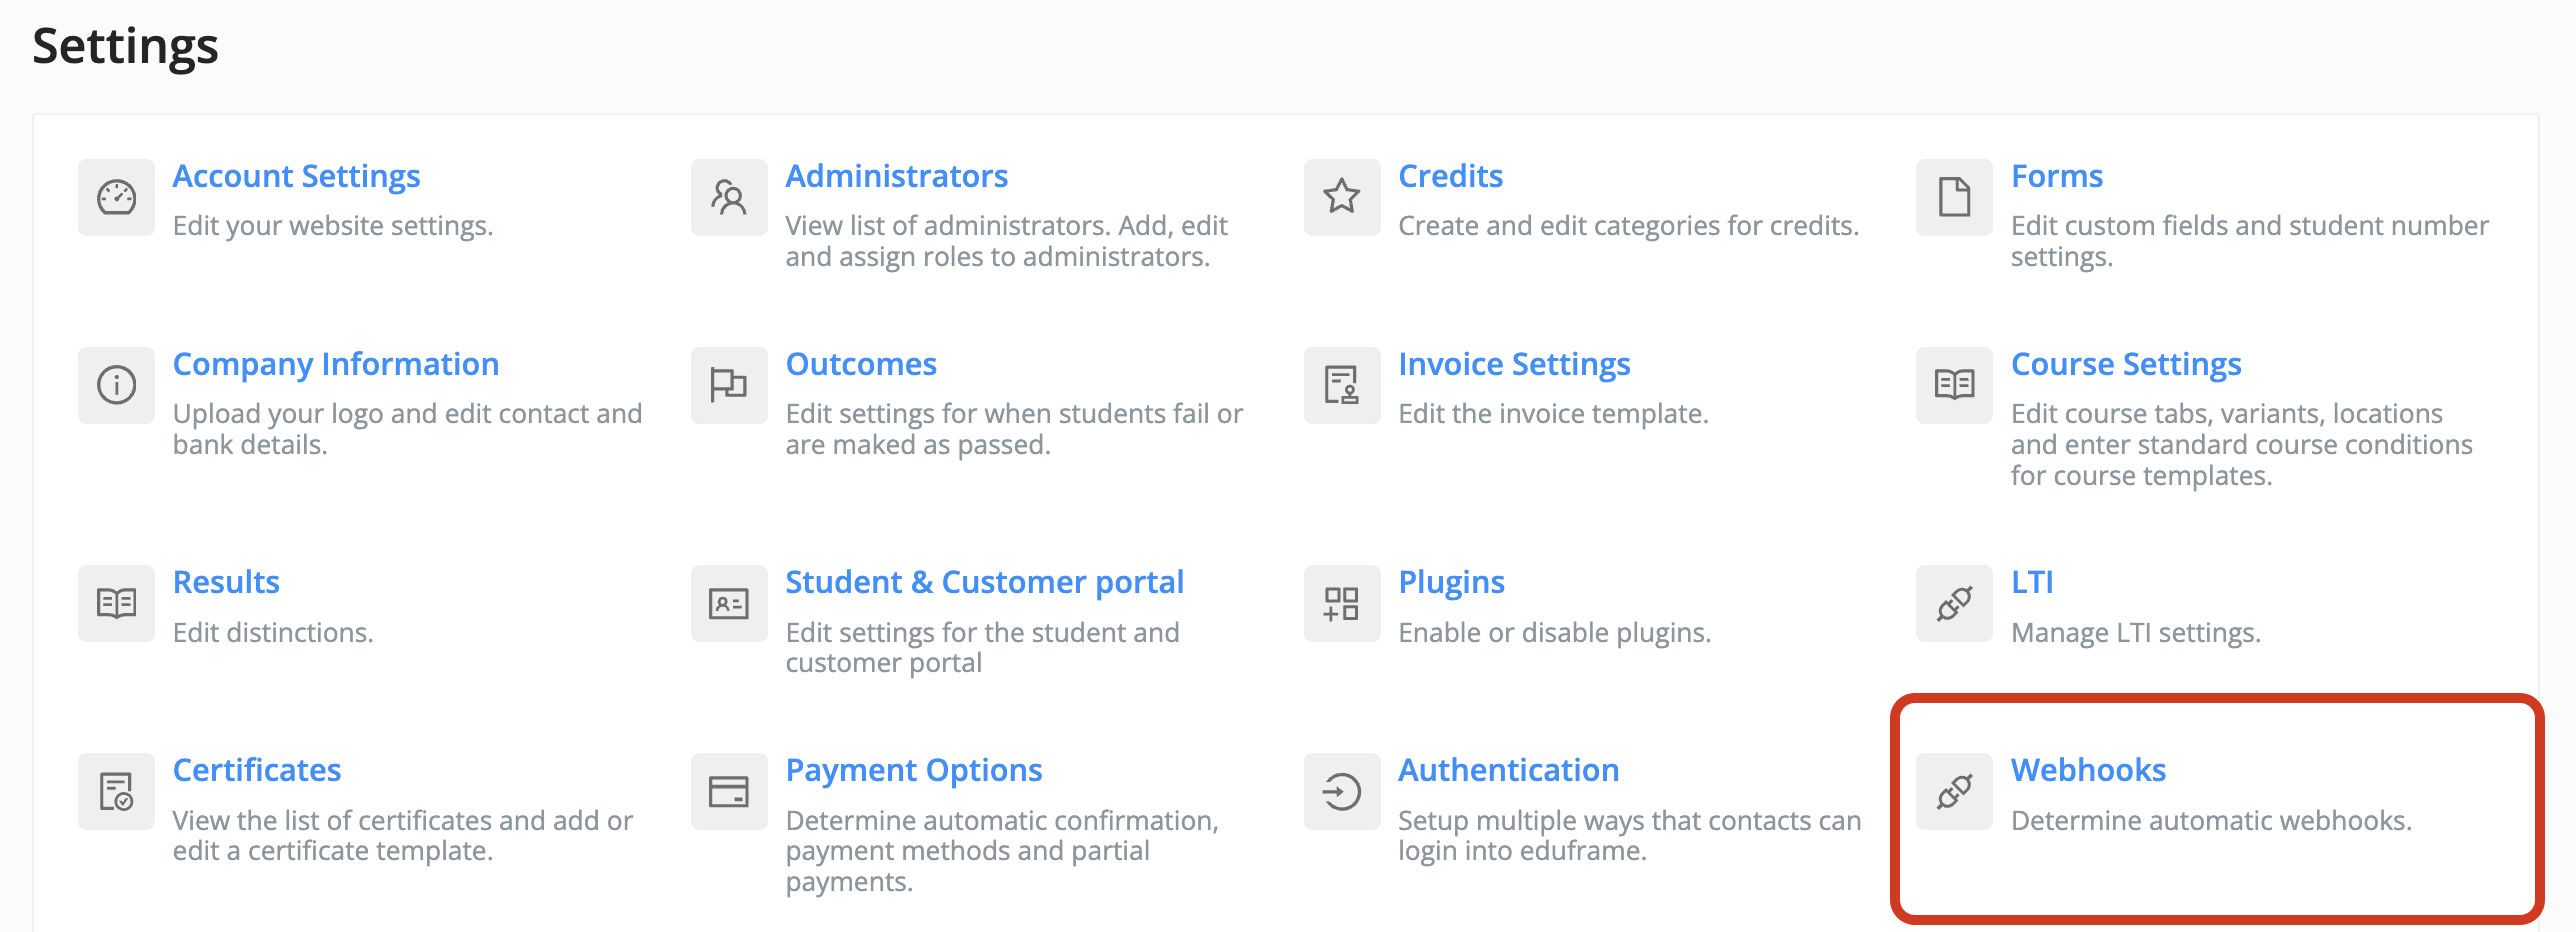 How to navigate to Webhooks page from the Settings page
Configuring Webhook
Webhooks can be configured through the API or the Admin UI. The payload of a webhook appears as follows:
{
  "event": "catalog_variant.updated",
  "educator": "drieam-test",
  "entity_id": 260752,
  "tenant_id": "29e40df7-4b7c-4a8b-a382-858224237ecc",
  "event_data": {
    "entity_id": 260752,
    "entity_type": "Catalog::Variant"
  },
  "entity_type": "Catalog::Variant"
}
Response payload example from webhook request
Adding a new Webhook using Admin UI
Click on the + Webhook button in the top right corner.
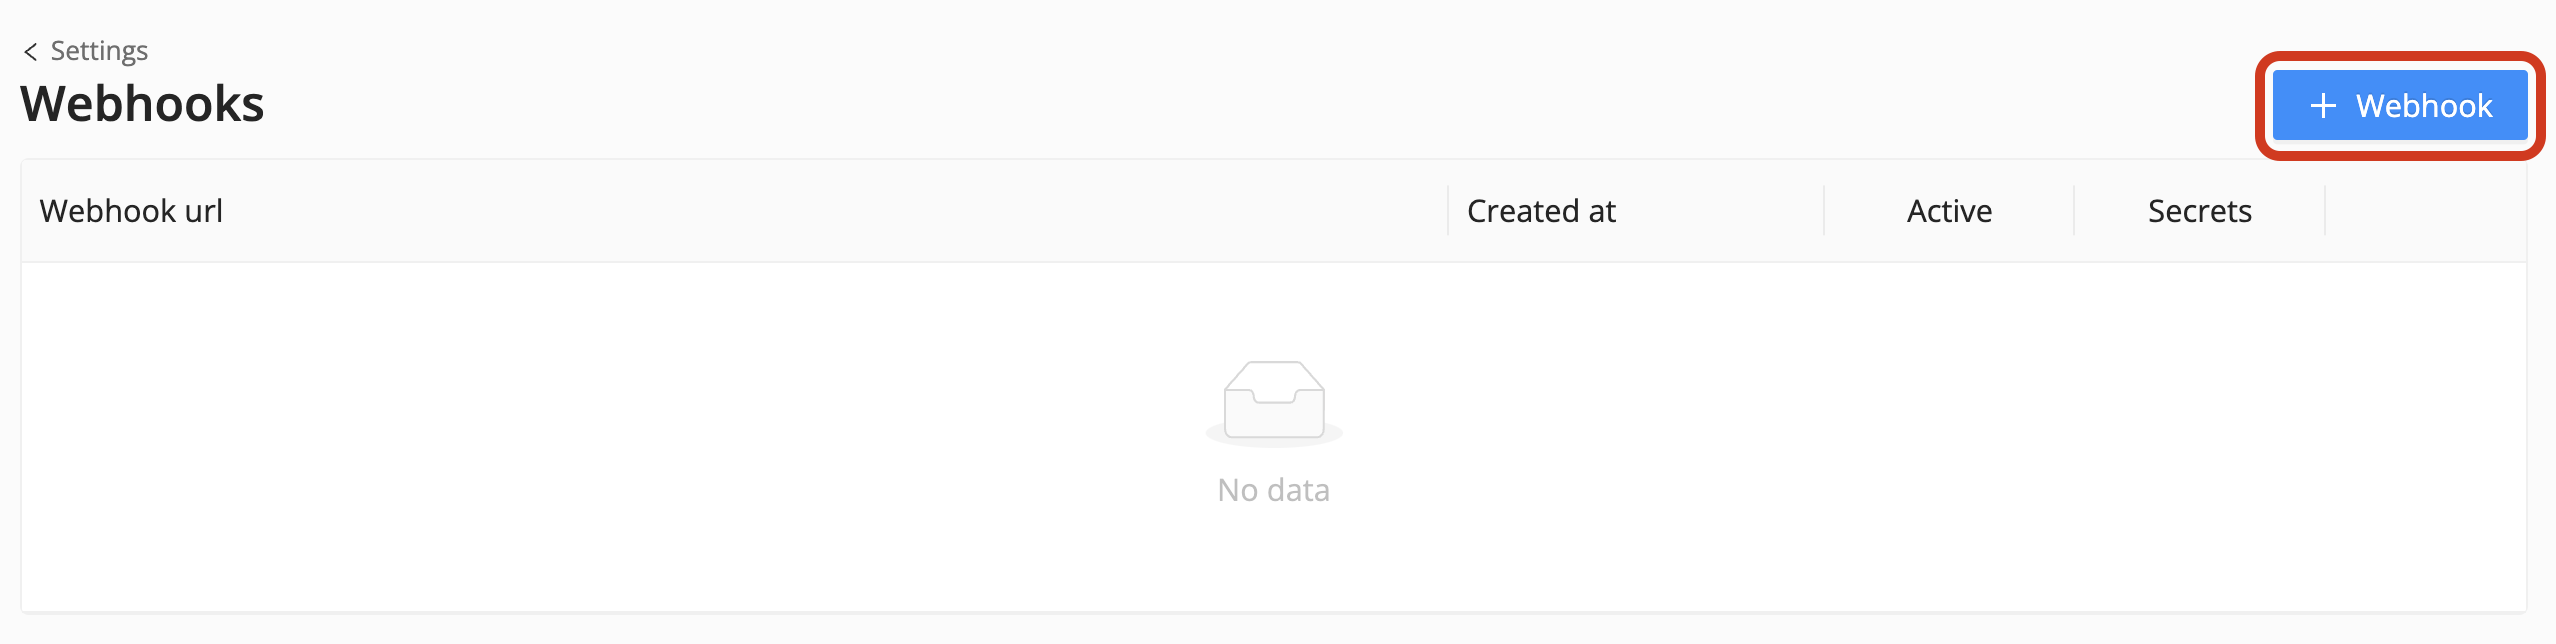 Add webhook button in Webhooks settings page
This opens a drawer that allows you to configure it (See: Editing a Webhook using Admin UI).
Editing a Webhook using Admin UI
A existing webhook can be configured by clicking on the edit icon on the right of the webhook:
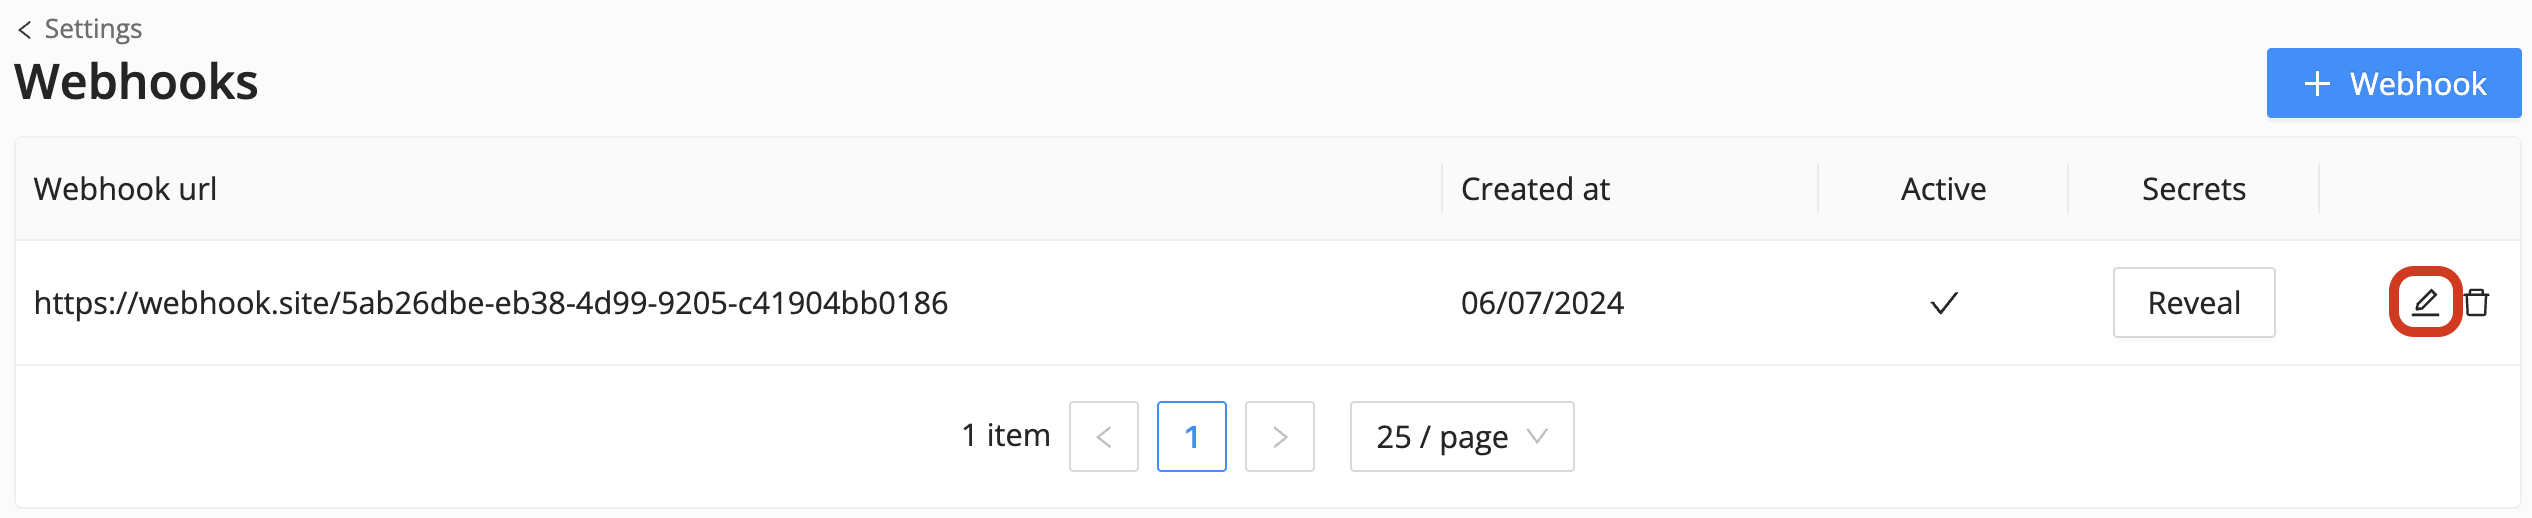 Edit button on webhook record
Configuring a webhook consists of 3 main components:
- Webhook URL → link to the website or application that wants to receive the payload
- Events → The Events indicate which events to subscribe to (E.g.
catalog_variant.createdwhen we want to get event information whenever a product is added to the system) - Active → Whether the webhook is enabled/disabled
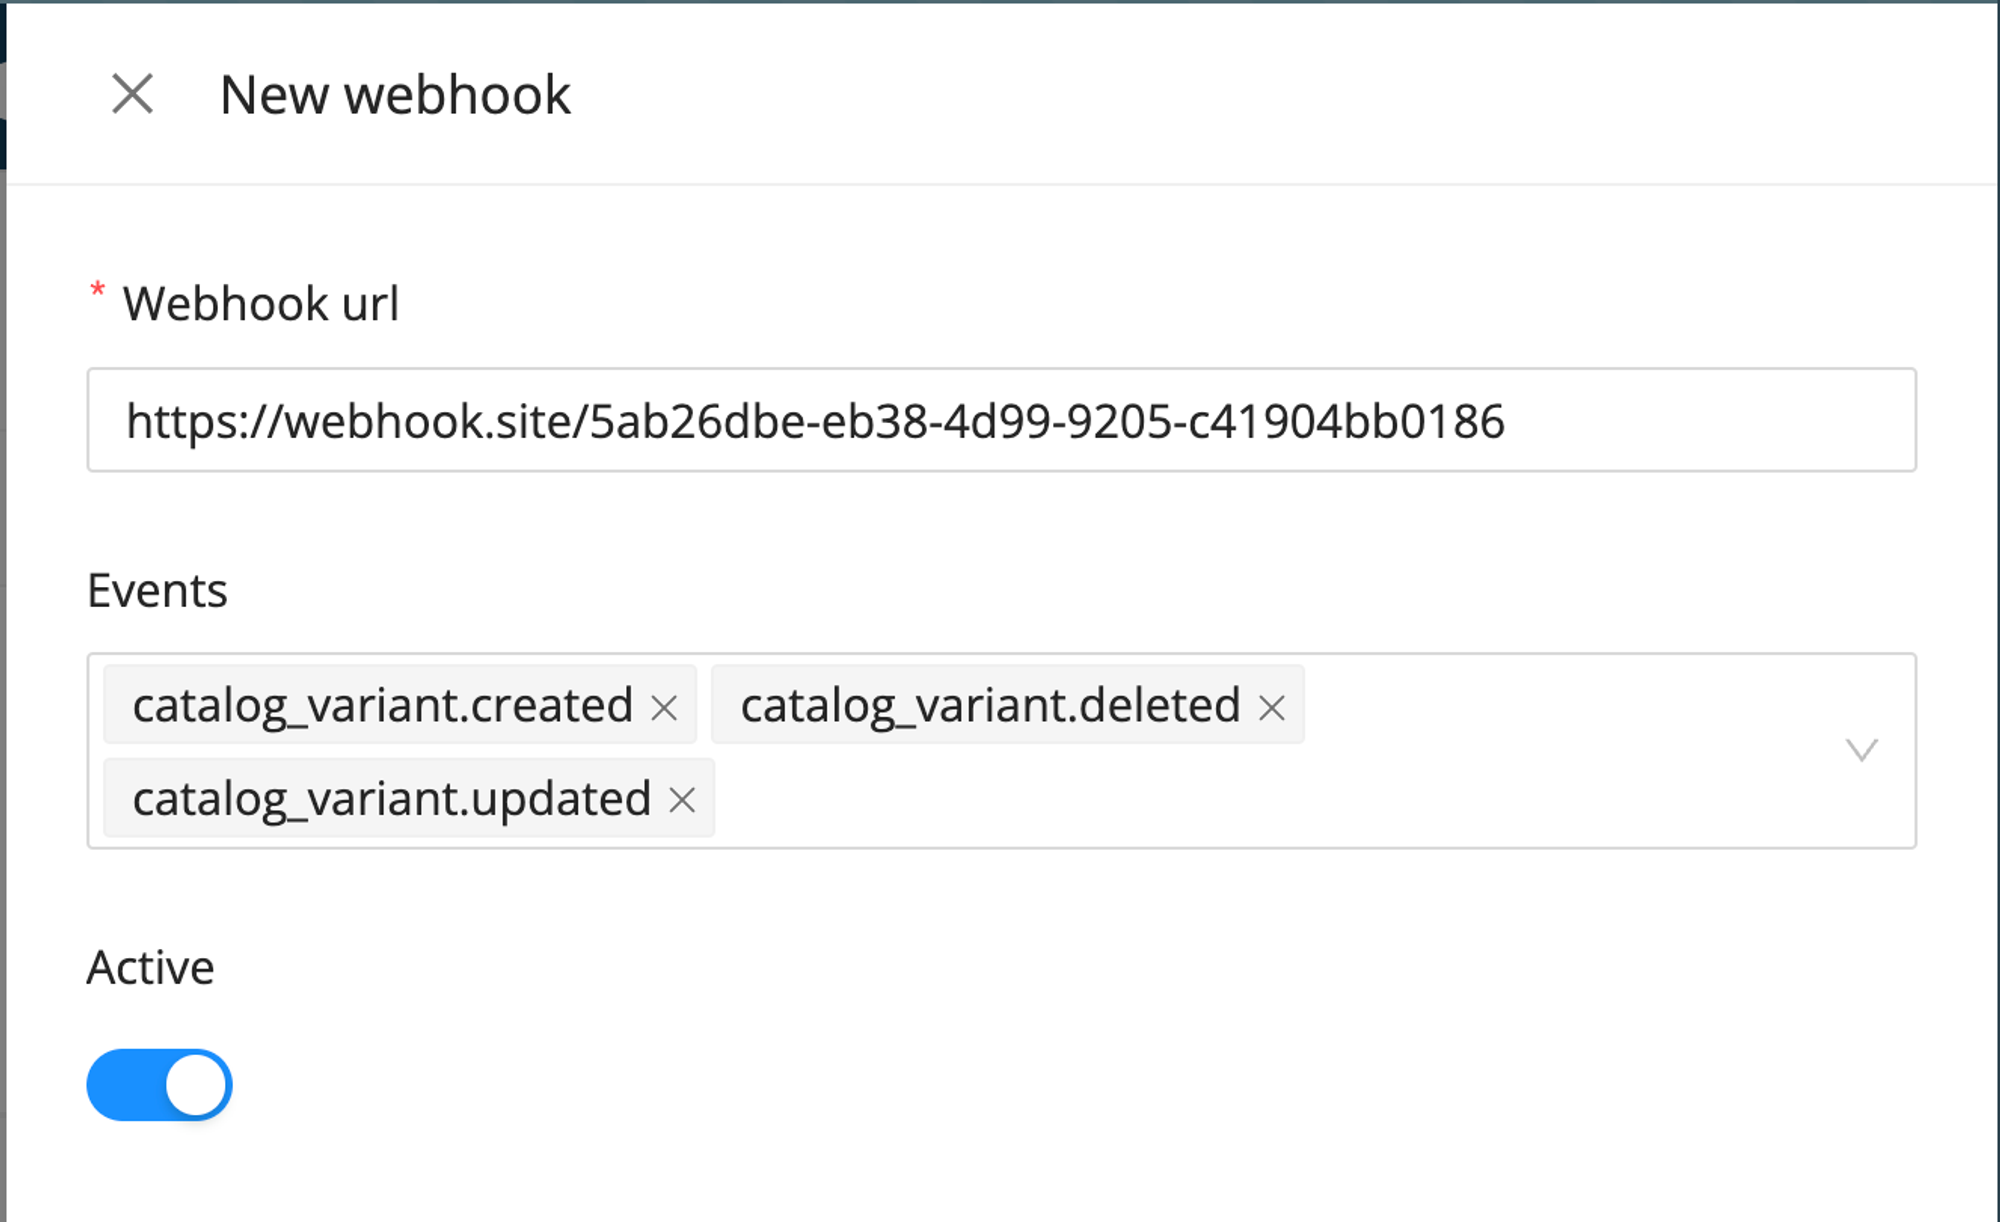 Webhook form with webhook url and events example
Deleting Webhook using Admin UI
A Webhook can be permanently deleted by clicking on the delete icon on the right of the webhook:
 Delete button on webhook record